

myBlueprint makes it easy to send communications to your students, whether it's an entire school, a class, or individually selected students.
All messages sent to students are stored securely within their myBlueprint accounts, and will be indicated with a red dot at the top right corner of their screen the next time they log in.
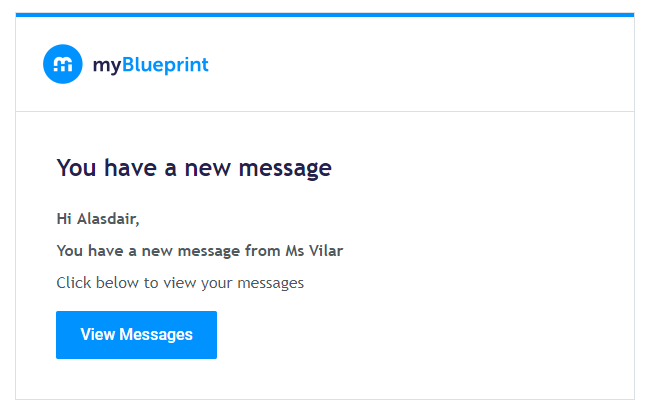
 Students will also receive a notification via email to the address linked with their account:
 All messages sent to students are one-way bulletins, meaning that students cannot directly respond to your message within myBlueprint.
To send out a message, you have several different options depending on the type of account you have.
Direct Messages (Teacher / Counsellor account)
As a Teacher or a Counsellor, you can send direct messages to a specific student or selected group of students in one of two ways:
- Click the Messages link in the left-hand navigation menu
- Click +Create, then Direct Message
- Enter the student or students' name(s) in the Send To field
- Enter the Title and Message content
- (optional) click Add Attachment to upload and include a file
- Click Send Message
Alternately, you can first check off the students in the Students section (Counsellor) or in your Class (Teacher/Counsellor), then click Group Actions > Send Message - this will pre-populate the Send To field with the students you select. Then you just need to complete steps 3-6 outlined above.
Class Messages (Teacher / Counsellor account)
As a Teacher, or a Counsellor if you have created Classes, you can quickly send messages to your entire class.
- Click the Messages link in the left-hand navigation menu
- Click +Create, then Class Message
- Enter the name of the class(es) you want to send the message to - you can message multiple classes at once!
- Enter the Title and Message content
- (optional) click Add Attachment to upload and include a file
- Click Send Message
Alternately, you can send a Class Message by opening your class, clicking the Messages tab, then +Create. This will pre-populate the Send To field with that class, so you just need to complete steps 4-6 as outlined above.
School Messages (Counsellor Account)
As a Counsellor or Counsellor Lead, you also have the option of sending out a school-wide message to your students.
- Click the Messages link in the left-hand navigation menu
- Click +Create, then School Message
- Enter the Title and Message content
- (optional) click Add Attachment to upload and include a file
- Click Send Message
Family Messages (Teacher / Counsellor)
When creating Direct Messages and Class Messages in the Teacher account, and in the Teacher / Classes view within Counsellor accounts, you also have the option of Including Family members.
This option will send a copy of the message (along with an email notification) to any family members that have a myBlueprint Family account linked with one of the student recipients.
- Note: this option is not available within the Messages section of the main Counsellor interface, for direct or school messages.
In the Teacher account, or the Teacher / Classes view within a Counsellor account, you can also send a Family Message. These steps will send a message only to the linked Family member, not visible to the student:
- Open the Messages section
- Click + Create
- Click Family Message
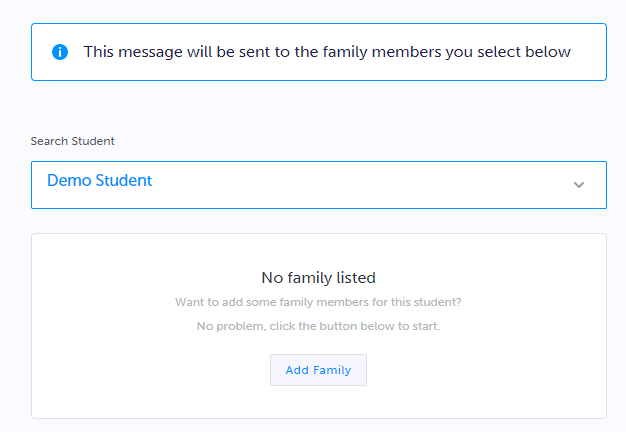
- Select a student
- If the student does not already have a family member linked with their account, you'll see an option to Add Family (see below) - you can use this to invite a family member to connect, but will need to wait for them to open the invitation and create their account before sending a message
- Enter a Title and Message content
- (Optional) Upload a file attachment if desired
- Click Send Message
Regardless of the option you choose, once you have sent some messages, you'll be able to see them in the Messages section of your account, including an indication of how many recipients have opened and read the message:
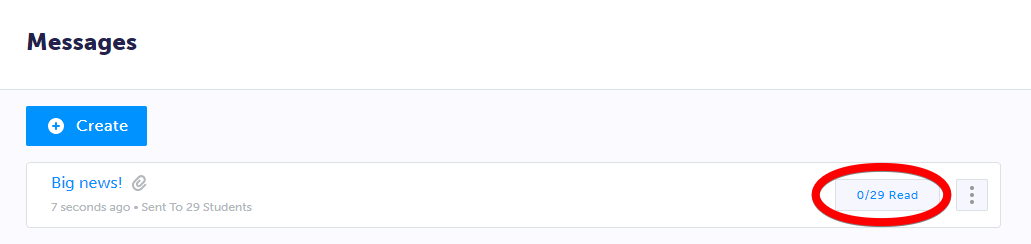 From there, you can also click the menu button (three dots) to Edit or Delete the message.