

Once you've set up your account as a teacher, one of the first things you'll want to do is create a class!
You can also create classes as a counsellor in myBlueprint, whether because you are teaching a class yourself, or to facilitate advisory groups, school-wide career education initiatives, and much more.
Either way, you can set up a class by following the simple instructions below.
More of a visual learner? Watch the How to create a class video tutorial!
- Log in to your account
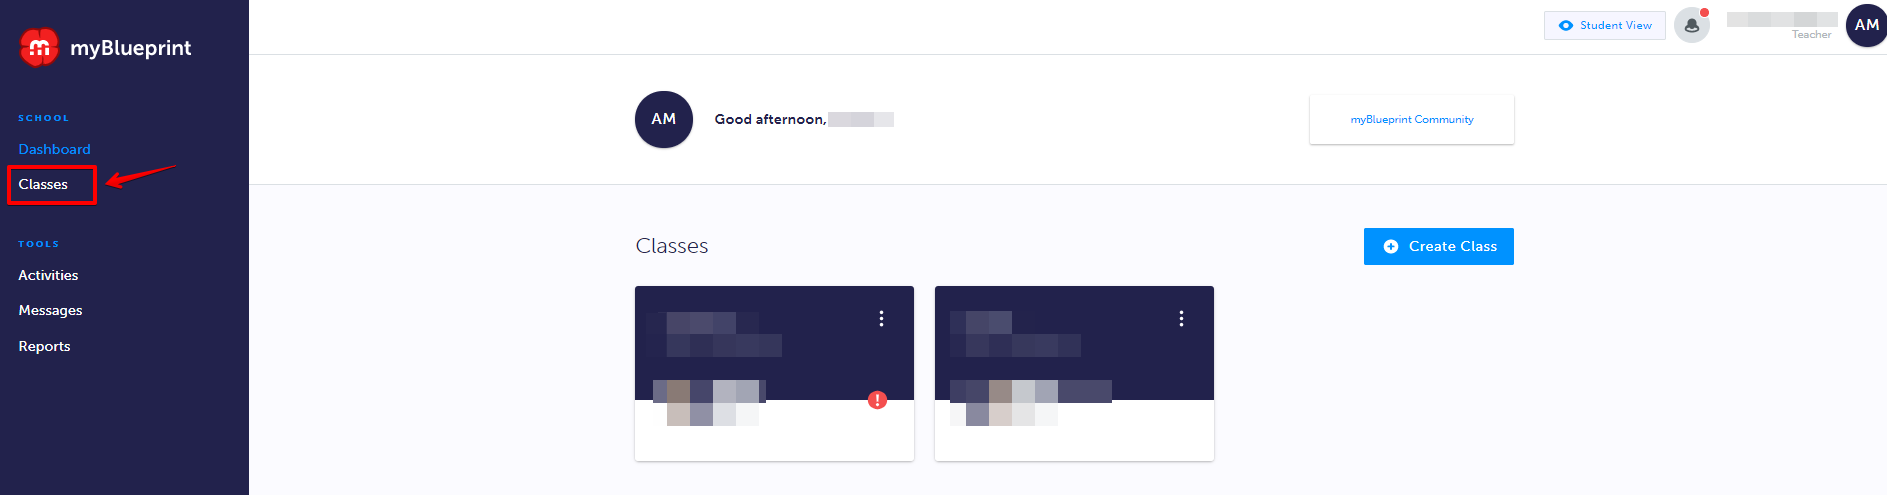
- Teachers: click Classes
- Counsellors: you have access to all the same features within a Teacher account - to access them, click the rightmost box at the top of your Dashboard page ('Try your new Teacher account' if you haven't created a class yet, or Classes if you have)

- Teachers: click Classes
- Click Create Class
- Enter a class Name, and click Create Class
- Note: the name you choose will be visible to students
Adding students to your class
After initially creating your class, you'll be prompted to Add Students. You can also go back and add more students at any time:
- Click Classes
- Click the 3 white dots on the class box
- Click Add Students
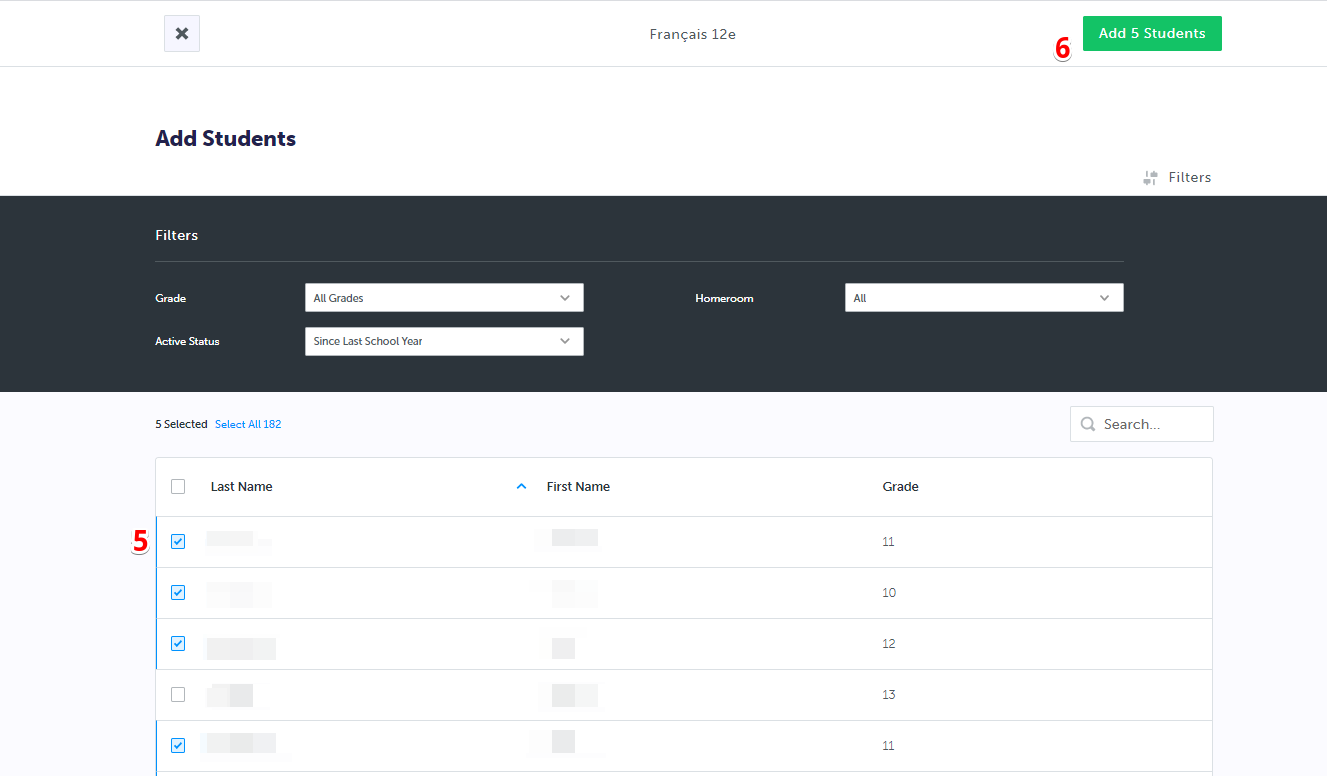
- This will open a new panel where you can select your students
- To populate your class, first check the box to the left of your students' names. You can use the Filters menu or Search bar to help locate your students.
- A checkmark will appear in the check box as each student is selected. When you have selected all of your students, click on Add [#] Students at the top right.
- Tip: students' names will remain checked, even if they are no longer on the screen. So you can search for one student with the search bar, check them off, then immediately search for the next student, and all will remain checked off until you're ready to add them into the class.
Can't find all of your students to add to your class? Try searching for manually created accounts on the Add Students page (see screenshot below)

For full instructions on how to add students with manually created accounts, follow these steps:
- Click Classes
- Click the 3 white dots on the class box
- Click Add Students
- Click Click here (blue link) to view manually-created accounts
- Locate student on the list
- Click on any of the header columns: last name, first name, grade, to filter alphabetically
- Check the box to the left of the student name
- Scroll to the top of the page
- Click Add 1 Student
If you're still having trouble locating your student, take a look at this article, or contact myBlueprint support. We're happy to help!